Privacy Canada is community-supported. We may earn a commission when make a purchase through one of our links. Learn more.
How to Completely Erase Your Hard Drive

There are a few ways to do so, each with its own positives and negatives. Although mainly the issue is how much security you are getting from the technique you use to wipe data.
For example, formatting is quick and easy, but the data erasure is not as thorough.
On the other hand, there is software that writes randomly generated numbers over data to make sure it’s gone for good.
Erase Your Hard Drive Completely
You know, you could have all the top secure emails and top malware blockers that you want, but sometimes you just need to get rid of data safely.
That’s where erasing your Hard Drive comes in handy.
How to Format your Hard Drive
Back-Up 👆
The first and most important thing you need to do before erasing your Hard Drive is backing up anything that you might need. Seriously spend some time here and go through every single file and folder on the hard drive you’re going to wipe.
There’s really nothing worse than wiping a drive, and then three weeks later realizing you need a file that was erased in the wipe.
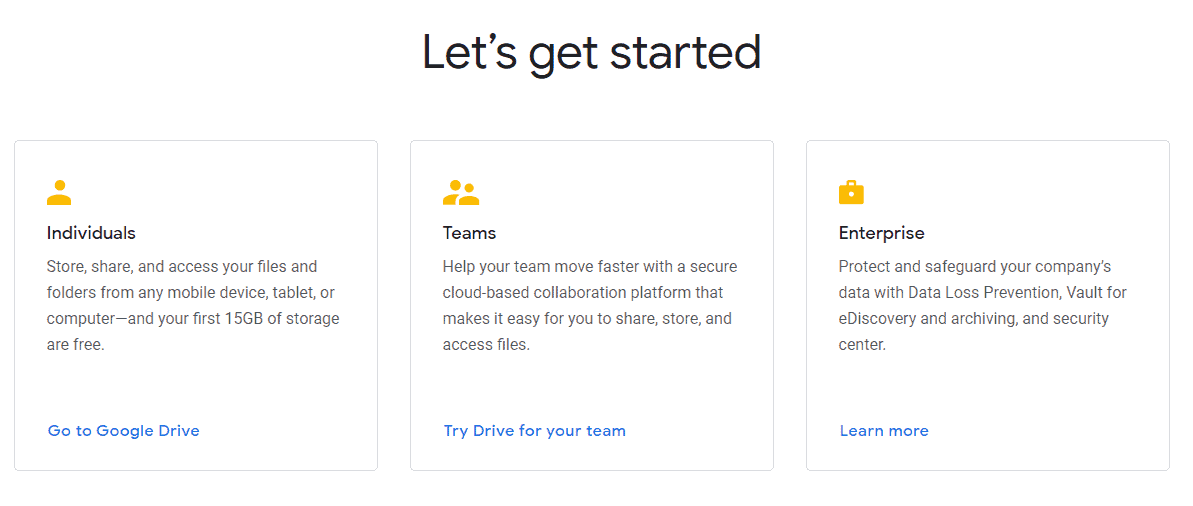
One great way to backup your drives is using either Google Drive or OneDrive, whichever one your preferred backup client is. There are also other alternatives out there if you’re interested, such as MediaFire or Backblaze, both great services for cloud storage.
Honestly, you should already be doing regular backups of your important files if you aren’t already.
Hard drive wipes are planned, but you never know when something might happen. 📅
For example things like hard drive failures, or even worse, a fire or some natural disaster that will have you losing important things like family photos, work files, or maybe that screenplay you’ve been working on.
Be smart and backup often, not only when erasing a hard drive. 🛡️
Formatting Your Hard Drive on Windows 💽
The process for formatting is actually relatively simple:
- ☑️ Open ‘This PC’. Access by typing ‘This PC’ in the search bar or via desktop icon
- ☑️ Find the hard drive you want
- ☑️ Make sure you’ve backed up any important information, and then right-click on it.
- ☑️ A new menu will pop-up, you will want to click on the text that says ‘format’
- ☑️ After clicking, a window will open with the formatting settings.
- ☑️ Choose your formatting settings. This can vary, but the default option is good
- ☑️ Also, we would suggest not checking ‘quick format’, as it only deletes file pointers
- ☑️ Once you’ve chosen your settings, click on ‘Start’ and wait until it’s done. Once it is you’re free to use your drive again!
You can also do this through Disk Management. On Windows 10 if you press the Windows Key + X, a menu will pop-up where you can click on disk management.
Once there you can see the different partitions of the drive and pick the drive you want to format. The process is essentially the same as above.
Formatting Your C: Drive on Windows 10 💿
Formatting the C: Drive on Windows, which is usually the Operating System (OS) drive, or ‘main’ drive, can’t be done with the above method.
This is due to the fact that the OS is actively using the hard drive, so if you tried formatting it the OS would just completely stop working (or get corrupted).
To Wipe your C: Drive safely, open the search bar and search for “Reset This PC”. In the new window click on “Get Started” and then “Remove Everything”. You can also format any other drive you have at this point as well.
Formatting Your Hard Drive on Mac 📀
Wiping your hard drive on macOS is pretty much as easy as on Windows:
- ☑️ First of all, make sure all the files and folders you want to save are backed up
- ☑️ Then, open your disk utilities by opening your Applications folder
- ☑️ Then utilities folder, and open Disk Utilities
- ☑️ Clicking on it opens a new window showing your storage media
- ☑️ Chose the drive you want to erase and then press ‘erase’
- ☑️ This will open a window that shows you a variety of erasing settings
- ☑️ The Security Options slider can set how secure the wipe is.
- ☑️ Once you’ve picked the settings, click ‘erase’ at the bottom. Once the process is complete, you’re done!
Securely Erasing your Hard Drive
Difference Between Formatting and Secure Erasing 🔏
It’s important to note that there are many different ‘levels’ for a hard drive to have its data removed.
You see, the way that files work on a computer is that the data exists on the hard drive with an information header, which tells the OS where that file is. It does this by creating an index of all the files on the computer.
This is why if you’re opening or searching for something you haven’t accessed in a long time, it takes a while for your computer to open it.
That is also why defragging an HDD can make your hard drive faster, since it arranges all the information to be after each other, so the HDD needle doesn’t have to jump around more.

General formatting is considered the lowest level of data erasure since all it really does is erase that indexing file. That means the data itself still exists, waiting to be overwritten by something else.
Why does that matter? Well, law enforcement or even hackers could potentially rebuild that file with the data leftover. As such, general formatting, that involves just deleting that index file isn’t necessarily considered very secure.
So How Do You Wipe a Hard Drive Securely? 🧽
There are different ways but the general way that it’s done is by doing write passes on the whole hard drive. That means writing gibberish data over the hard drive so that even if somebody tries to rebuild it, the original data is completely gone.
Formatting done through the OS’ formatting options may sometimes do a pass or two, and apparently, Microsoft says windows does do that.
Of course, you don’t always want to trust companies like Apple and Microsoft when it comes to that, and so a lot of people tend to use secure wiping apps.
These apps not only do one pass but sometimes can do up to 20 or 30 passes to make extra sure the data is truly gone.
They also tend to use random number generators to make the data used to wipe truly random and add another layer of data erasure to the process.
While there are several free HDD erasing programs like Secure Erase and Parted Magic, the one we suggest using is DBAN
Secure Erasing Hard Drive with DBAN 🔐
DBAN is a great piece of software most widely used for securely erasing Hard Drives 🧼:
- ☑️ First things first, download DBAN
- ☑️ The file itself should come in the form of an ISO, which is like a virtual CD or DVD
- ☑️ Burn DBAN – For CD, you can right-click and burn on to an empty CD
- ☑️ For Flash Drives, you can download Rufus and use it to prepare the flash drive
- ☑️ You then want to restart your computer with the USB/CD still in
- ☑️ When the computer restarts it will open into DBAN command-line screen
- ☑️ If your computer boots normally, then you might have to go into the Bios
- ☑️ When in Bios boot up manually CD/USB
- ☑️ At this point pay attention, this is also a disclaimer
- ☑️ Anything you do after this point may irreversibly delete information
- ☑️ Be careful and we are not liable for any mistakes you make
- ☑️ Once on this screen, you can enter a command
- ☑️ But it’s easier to go with the quick commands, so just press F3
- ☑️ At this point, you will see the different methods DBAN can use to wipe your data
- ☑️ Type the specific method into the command and DBAN will begin to erase all
- ☑️ If you only want to securely erase specific hard drives, you’ll need the interactive mode.
The Interactive mode allows you a bit of customization as to how exactly you want DBAN to wipe things. 🤲
- ☑️ To access the interactive mode, you need to be on the DBAN main menu
- ☑️ Once in the main menu, just press Enter to get you into the interactive mode.
- ☑️ On this new screen, you’ll see the different drives you have
- ☑️ As well as the specific commands you can use to navigate the page
- ☑️ We really suggest checking pressing V and setting ‘Verify Last Pass’
- ☑️ Pressing R and choosing the number of times you want DBAN to run
- ☑️ Pick the drives you want to wipe by highlighting them and pressing the spacebar
- ☑️ The word ‘Wipe’ should appear next to the drives DBAN will wipe.
- ☑️ Once you’re sure of everything, press F10 to start the process.
- ☑️ Finally, after DBAN finishes the wipe, let it make sure it was done securely.
- ☑️ You can then remove the USB or CD and restart the computer normally.
Physical Destruction of HDD
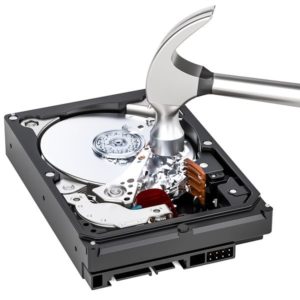
Obviously, the most secure way to make sure your data doesn’t get into the wrong hands is to physically destroy the disk.
Before doing so, just be aware that the average person most certainly doesn’t need to worry about this, and those who do need to worry, probably already have whole IT departments to worry for them.
Anyway, there are generally two ways to destroy an HDD ⚒️:
- Take a really strong magnet and move it all around the hard drive
- Take it apart and physically destroy the disks by snapping or burning.
Again, keep in mind that electronics are environmental hazards, and you can be fined for disposing them outside of ways permitted by the law.
You Might Also Like:
- Best Home Security Cameras
- The Best VPN Services
- Top Free VPNs
- Discrete Fourier Transform
- Mel Frequency Cepstral Coefficient